El Nido Palawan Travel Guide: Island Hopping Tours, Tips & What to Expect (2026)
From Screens to Scenery: How El Nido Turned My Zoom Calls into Paradise
This El Nido Palawan travel guide comes straight from the heart, because just thinking about it makes me smile. I’ve only been once, and wow, what a paradise!
As a work-from-home mom, I find it rare to experience a place that literally leaves me speechless. But El Nido? It did exactly that. My client, whom I also consider a dear friend, had always wanted to visit the Philippines, and when we finally decided to meet in person for the very first time, we chose El Nido. Neither of us had ever been there before. So imagine people meeting face-to-face for the first time, both discovering this place together. The awe was doubled. The excitement was real. And honestly? It was the most perfect setting we could have picked for a first hello.

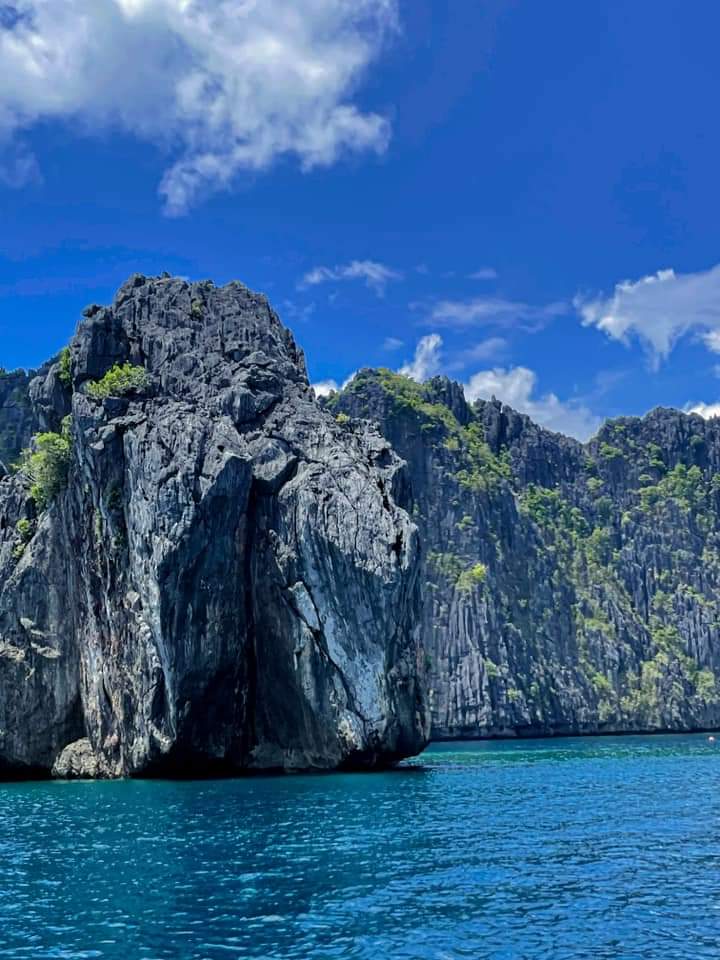
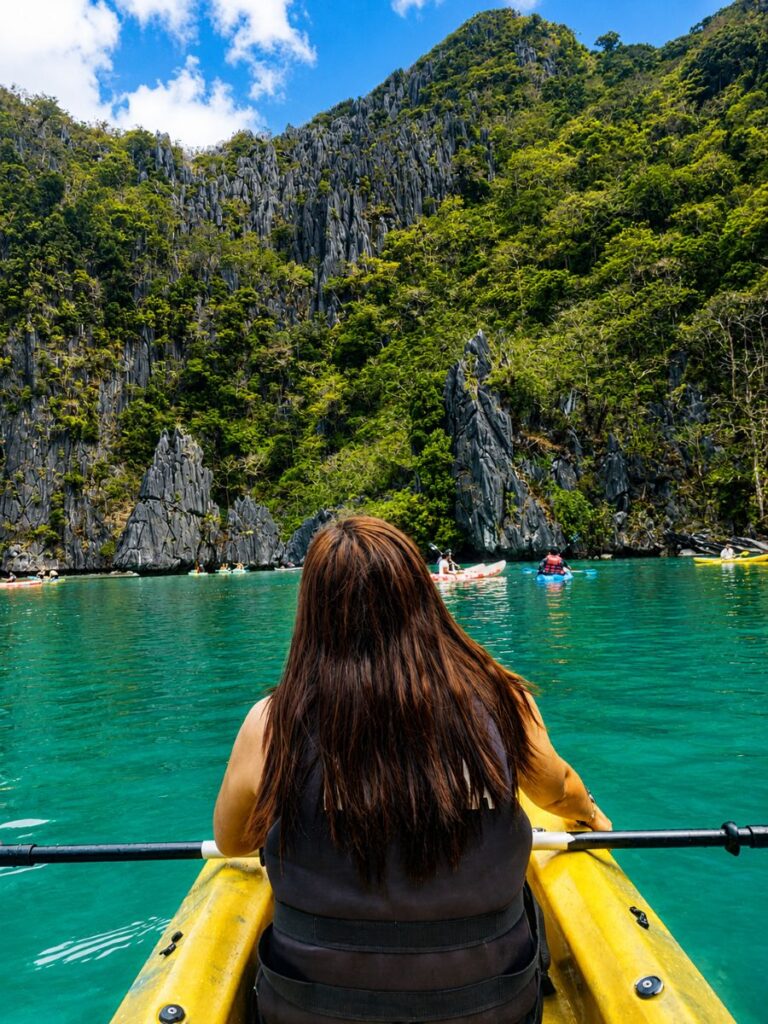
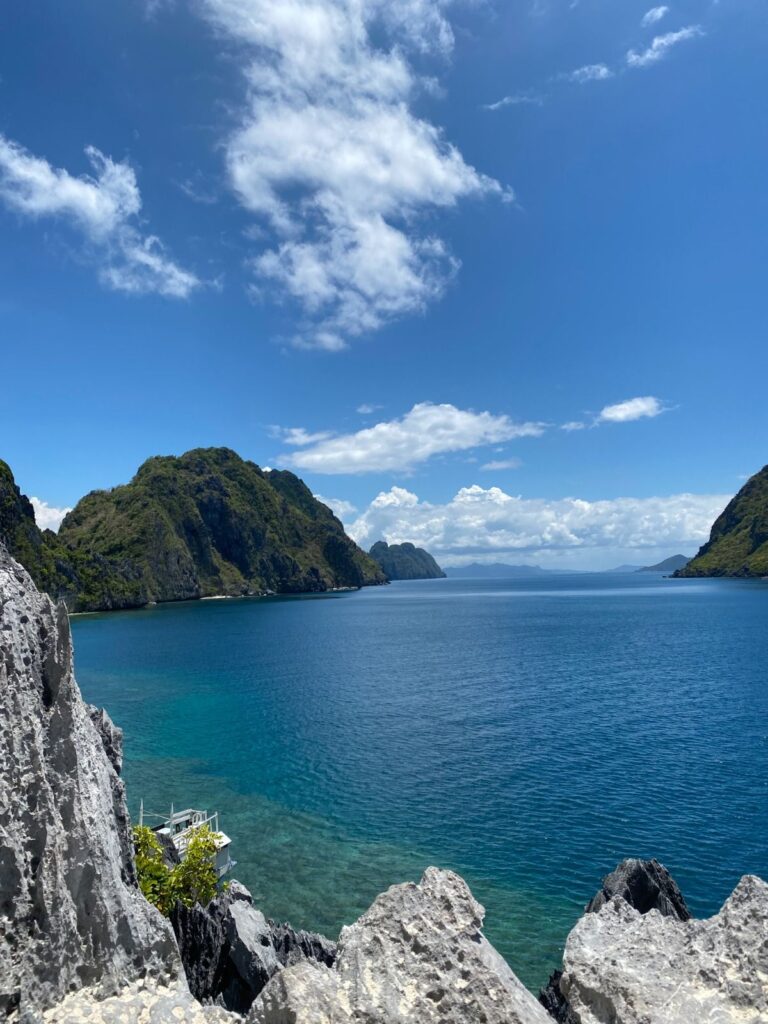
From the moment we arrived, I felt like I had stepped into a postcard. The turquoise waters, dramatic limestone cliffs, and soft golden sands seemed almost unreal. Our adventure began with El Nido island hopping, and we chose Tour C. Every stop felt like a surprise waiting for us. We paddled kayaks through the quiet, emerald waters of the Big Lagoon, walked along the soft sand of Hidden Beach, and admired the distinct shape of Helicopter Island. At each stop, I kept thinking, I can’t believe I’m actually here!
We spent two days in El Nido total, and honestly, it didn’t feel like enough. Two days of chilling, exploring, and just being present with someone I’d only ever spoken to through a screen. It was the kind of trip that reminds you why you work so hard in the first place.
Puerto Princesa to El Nido
Let me be upfront with you. Getting to El Nido is part of the adventure, and you need to prepare for it.
If you’re flying into Palawan, you’ll most likely land in Puerto Princesa first. From there, you have two main ways to reach El Nido:
From Puerto Princesa City:
- Travel time: 5 to 6 hours by land
- Shared van: ₱600 to ₱750 per person
- Bus: ₱380 to ₱900 per person, depending on type
- Private van: ₱6,500 to ₱8,500 per vehicle (split with friends)
From Lio Airport, El Nido:
- Travel time: 15 to 30 minutes to town
- Tricycle: ₱300 to ₱450 depending on luggage
- Private shuttle: ₱1,200 to ₱1,900+
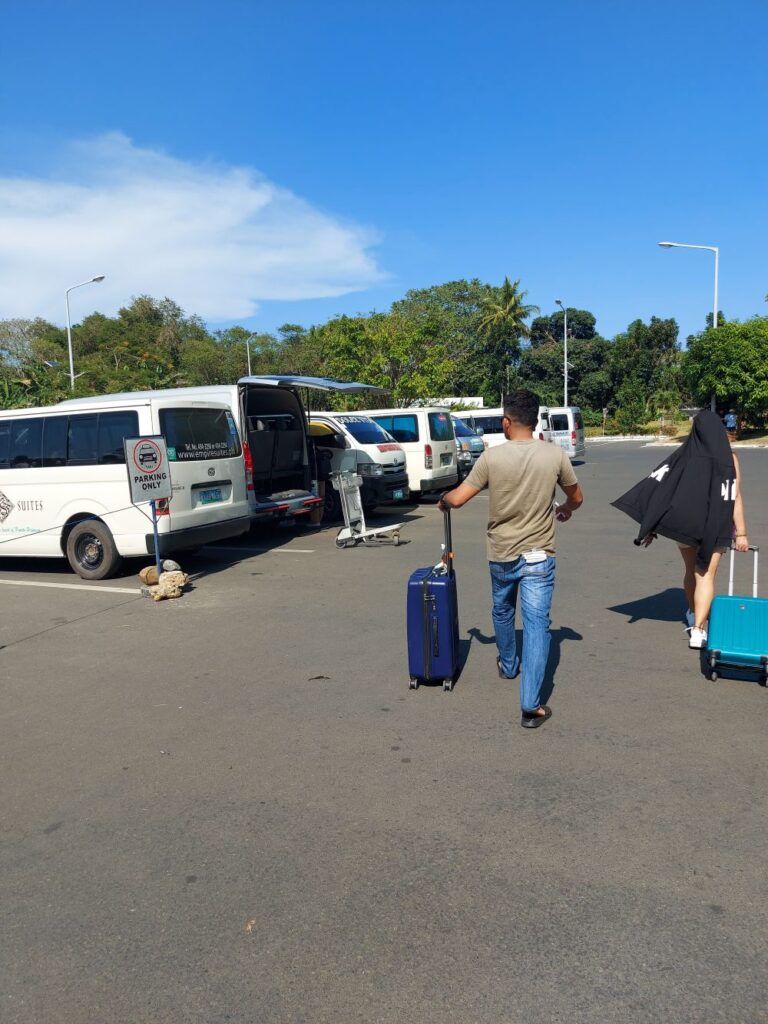
Our hotel arranged the van transfer for us, which I highly recommend doing if you can. It saved us from figuring out terminals and bookings on our own, and after a flight, the last thing you want is to stress about transport. Just coordinate with your accommodation before you arrive and ask if they can arrange it for you.
I took the van, and friend, the speed of that vehicle is unexplainable. Pack Advil or paracetamol, Vicks inhalers, and some motion sickness remedies if you get carsick. I had a very reasonable headache halfway through and was so glad I came prepared.
💡 Tip: Pre-booking your van or shuttle can save stress, especially if arriving late. And if your hotel can arrange it, even better.
Where to Stay
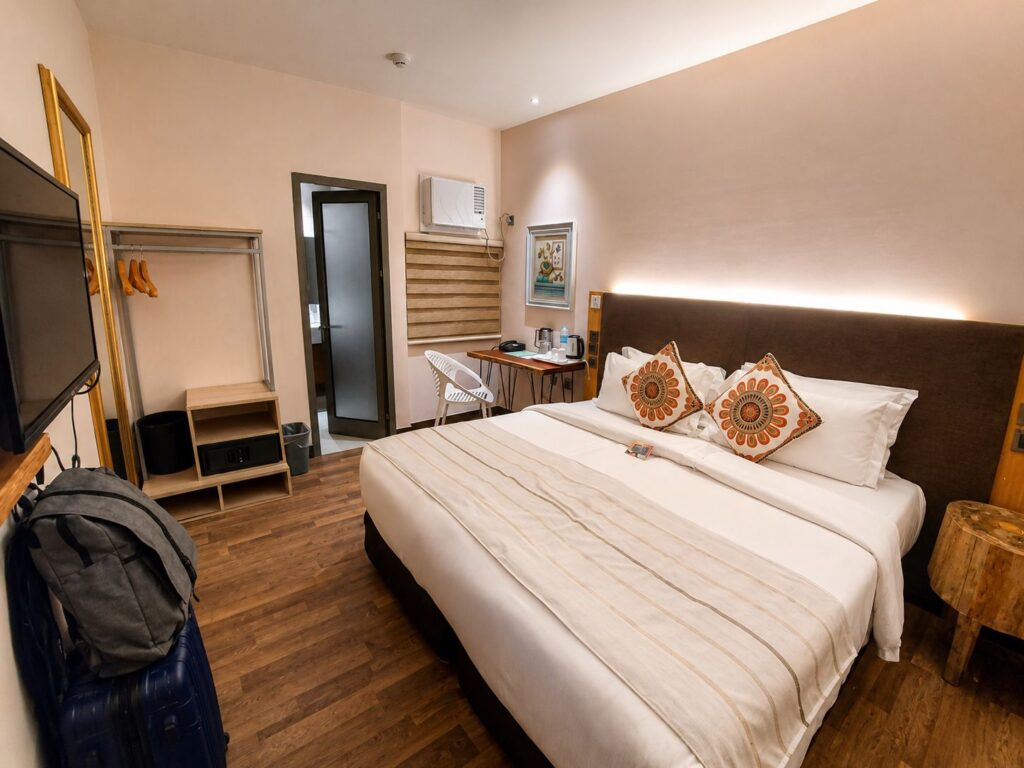
We stayed at Cuna Hotel El Nido, which was modern, cozy, and quiet, perfect for working moms needing a few hours of laptop time. But what really surprised me was how beautiful the hotel itself was as a place to just be.
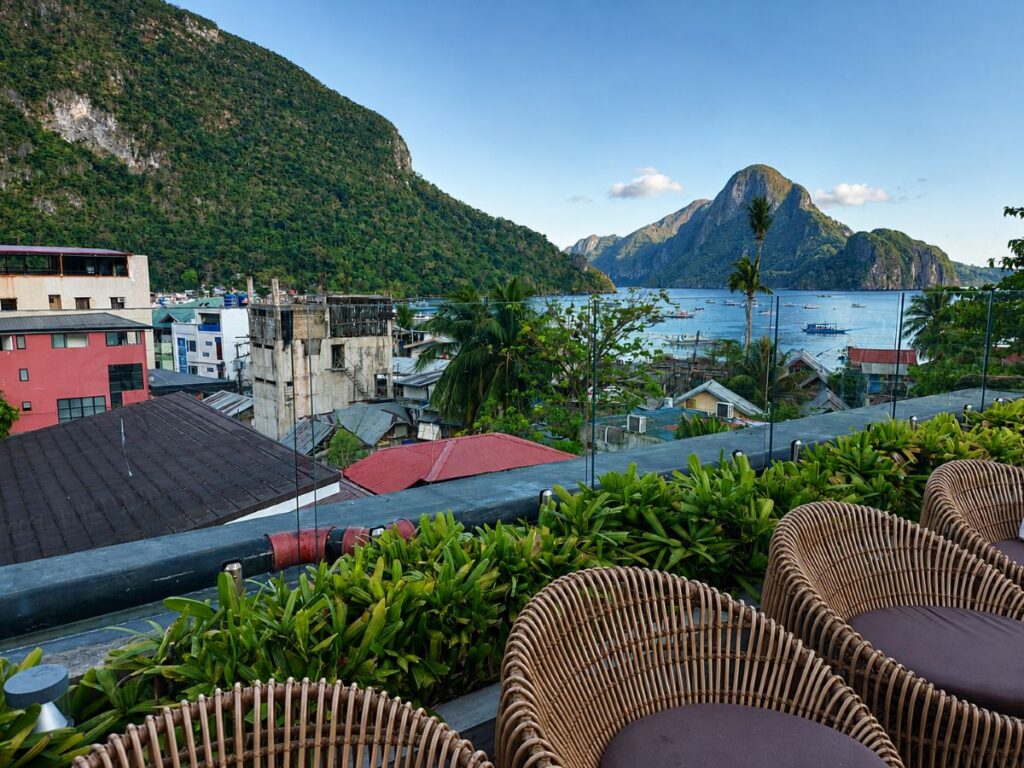
They have a rooftop where you can see the view of El Nido, and I mean the actual El Nido, the limestone rocks and cliffs rising in the distance, the same ones you see on island hopping tours. Waking up to that view every morning felt unreal. They also have a pool, which was such a nice way to wind down after a full day on the water. And the rooms? Clean, comfortable, and well maintained. Even the comfort room was spotless, which, as a traveler, I always appreciate more than people think.
Cuna Hotel El Nido is also very conveniently located. Gusto, the gelato place we loved, is just right nearby. So after dinner, it was just a short walk for dessert. More on that later.
Other good options depending on your budget:
- Spin Hostel: budget-friendly, great for solo travelers
- Cadlao Resort and Restaurant: scenic and relaxing, a bit further from town
- El Nido Resorts Miniloc Island: splurge-worthy, for a truly luxurious stay surrounded by nothing but ocean
Island Hopping Tours & Costs
Here’s the thing. You can research El Nido for weeks, but nothing prepares you for actually being on that boat, watching the cliffs rise around you, thinking how is this a real place.
El Nido offers four main island hopping tours, and each one covers different stops:
| Tour | Highlights | Price |
|---|---|---|
| Tour A | Small Lagoon, Big Lagoon, Shimizu Island, Secret Lagoon | ₱1,200 to ₱1,500 per person |
| Tour B | Snake Island, Pinagbuyutan Island, Entalula Island | ₱1,200 to ₱1,500 per person |
| Tour C | Helicopter Island, Secret Beach, Hidden Beach, Big Lagoon, Matinloc Shrine | ₱1,300 to ₱1,600 per person |
| Tour D | Cadlao Lagoon, Natnat Beach, Paradise Beach, Pasandigan Beach | ₱1,300 to ₱1,600 per person |
Most tours include kayaks, life jackets, and sometimes snorkeling gear, but rentals are also available for snorkels, paddleboards, and waterproof phone bags. This way, you can freely explore and take photos without worry.
We did Tour C, and our boat left at around 8 in the morning and we were back by 4 in the afternoon. It was a full day on the water, and we shared the boat with roughly 16 people. It felt like a good group size, not too crowded, and everyone was friendly and excited.
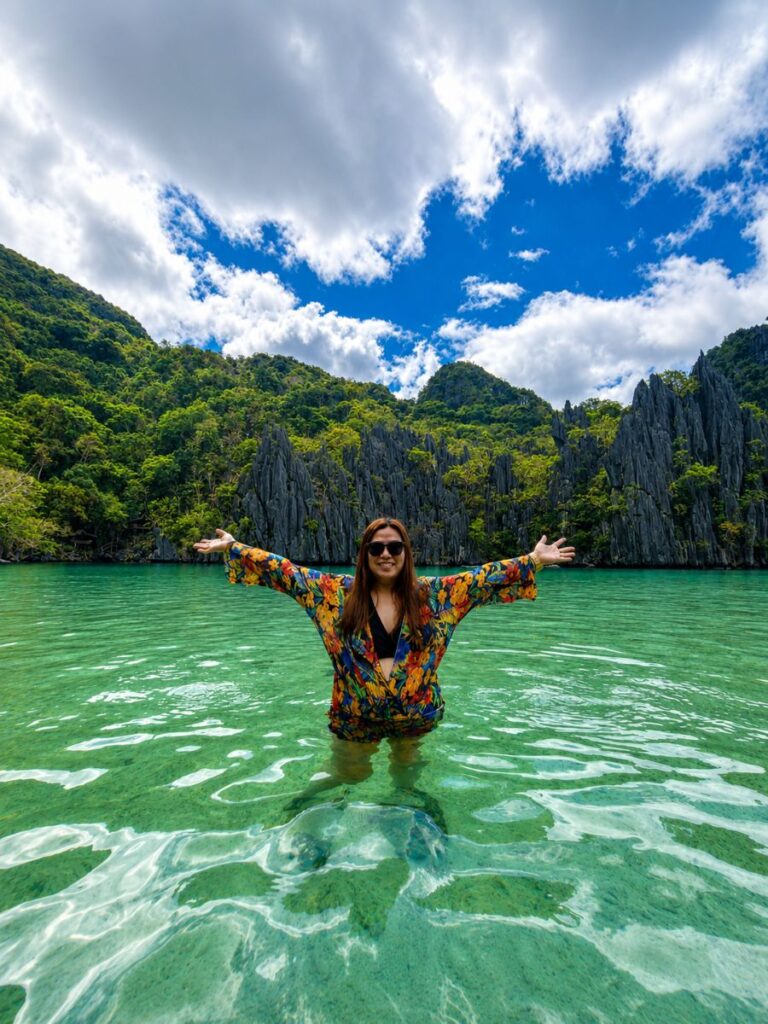
Our tour guide was amazing, funny, friendly, and reassuring. Even though I don’t know how to swim, I felt safe the entire time. We kayaked through the Big Lagoon, the water so still and green it felt like paddling through a painting. We walked along Hidden Beach, soft sand crunching underfoot, cliffs towering around us. And Helicopter Island? That distinct shape from the water is something I keep returning to in my memory.
One tricky moment was at Secret Beach, where the current was unstable, and we had to float carefully through a narrow rock opening to get inside. Our guide made sure everyone got through safely, and honestly it made the moment feel even more of an adventure.
Pro tip: always wear water shoes because of hidden rocks and sea urchins.
Matinloc Shrine & Boodle Fight
One of the most grounding moments of the trip was visiting the Matinloc Shrine, and this one quietly became my favorite stop of the entire tour.
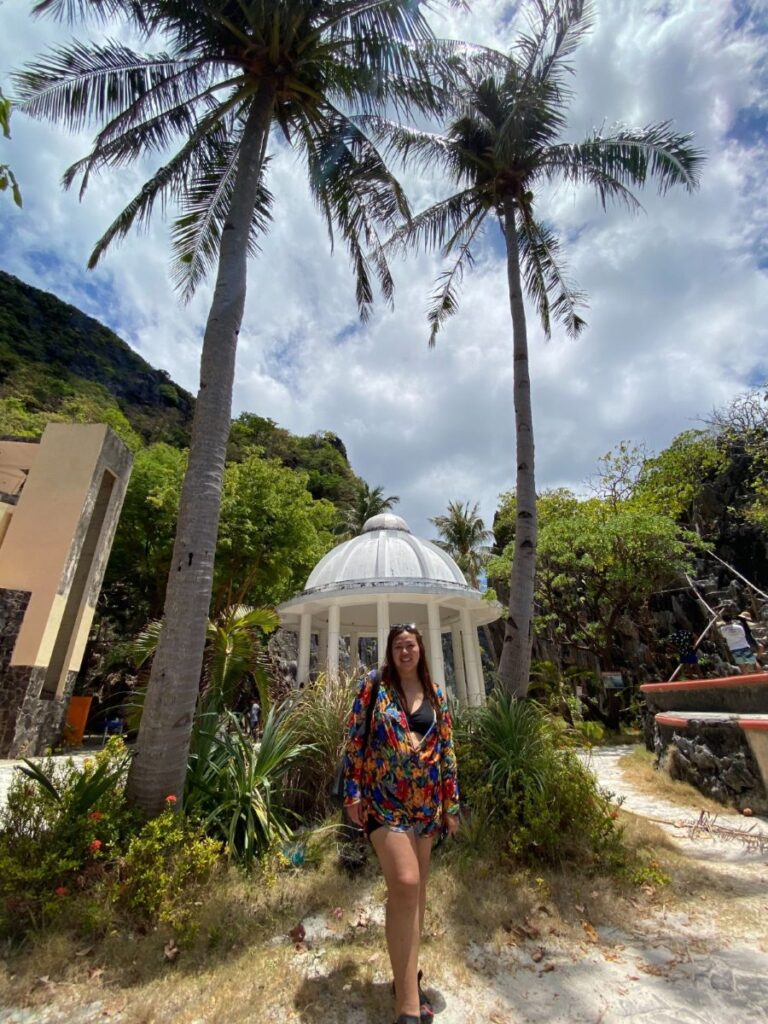
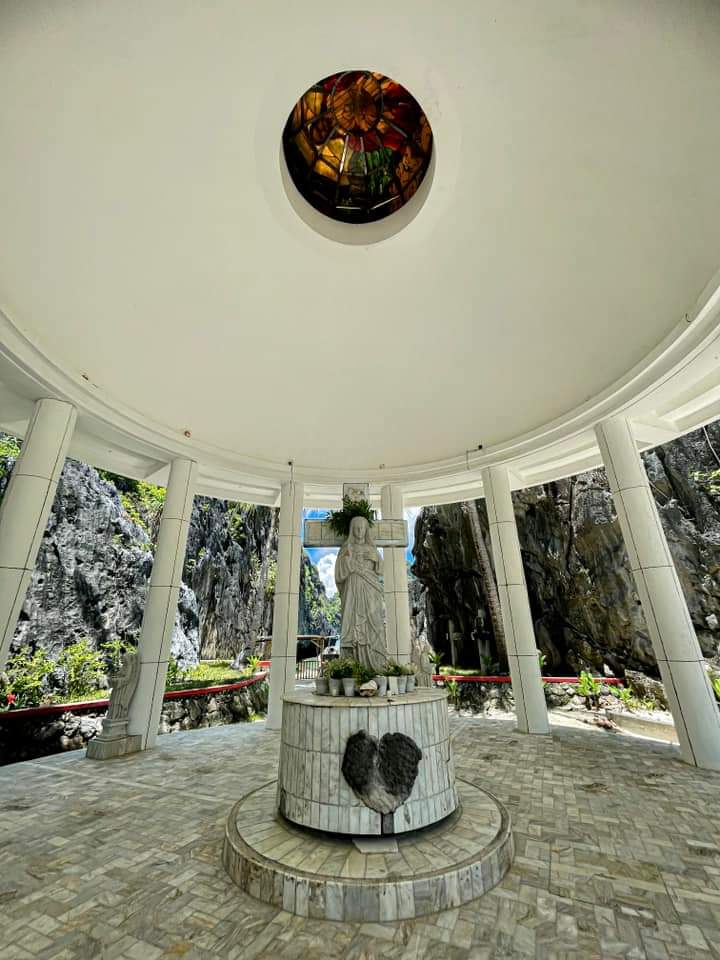
This is the Matinloc Shrine.
Built in 1982 to honor the Virgin Mary, this abandoned spiritual oasis was once a convent and a pilgrimage site. Today, the view from the cliffs is breathtaking. There’s a spot where you can climb to the top, and when you get up there, you see the whole bay laid out in front of you. Limestone cliffs, emerald water, sky meeting sea. I stood there for a moment just taking it in, and I remember thinking, no Zoom call has ever made me feel like this.
If you’re doing Tour C, don’t rush this stop. Take the climb. Get to the top. The view is worth every step.

I was enchanted to meet you..
Here, we had a Boodle Fight lunch, a traditional Filipino feast of rice, seafood, and fruits shared on banana leaves. History, stunning views, and food combined to create a memory I’ll never forget. After weeks of solo lunch breaks in front of my laptop, eating communally like this felt like medicine.
Beyond Island Hopping
El Nido isn’t just about islands. You can enjoy:
- Snorkeling or diving in crystal-clear waters
- Trekking to viewpoints around Bacuit Bay
- Yoga and fitness at El Nido Yoga Shack, Sibaltan Wellness Gym, or Lagoon Fitness Studio
Balancing adventure and wellness made this trip truly refreshing.

Where to Eat & Indulge
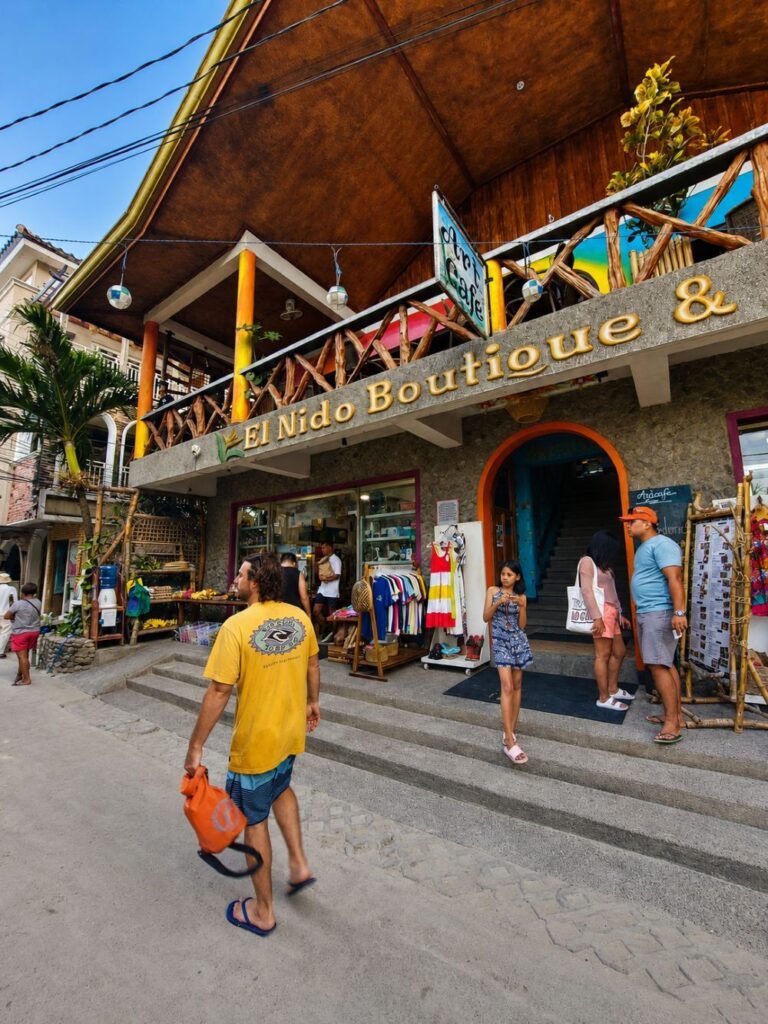
El Nido’s food scene is just as magical as the scenery. We tried Artcafe El Nido, and it was such a cozy spot. Great for coffee, casual bites, and just sitting and watching El Nido town go by. The kind of place you pop into and end up staying longer than planned.
A few other spots worth checking out:
- Trattoria Altrove: Italian classics, surprisingly good in the middle of paradise
- Mezzanine El Nido: fresh seafood with a view that makes every meal feel special
And then there’s Gusto, the gelato place just near our hotel. My favorite ritual of the entire trip was walking over there at night with a cone in hand, strolling through town slowly, no agenda, no notifications. There’s something so charming about ending a day in paradise with a sweet treat in hand. After months of eating lunch at my desk, this felt like the greatest luxury.
Wellness & Travel Tips: What to Bring
Now, let me share my personal WFH mom survival kit for El Nido. Traveling from Puerto Princesa to El Nido is no joke, the van’s speed is unexplainable! I had a very reasonable headache, so pack Advil or paracetamol, Vicks inhalers, and some motion sickness remedies if you get carsick.
For island adventures, I packed:
- Swimwear and rash guards
- Water shoes or aqua sandals (essential for beaches and lagoon entries)
- Sunscreen and after-sun lotion
- Insect repellent
- Vitamins to keep energy up
- Paracetamol or Advil for headaches or muscle aches
- Vicks inhaler or menthol rub for the long van ride or evening chills
This simple prep made the trip far more enjoyable and spared me from headaches and fatigue.
Final Thoughts
El Nido is truly wonderful for everyone, adventurers, families, seniors, and even WFH moms like me. The calm boat rides, gentle hikes, and stunning views are perfect for mental health and relaxation.
From kayaking the Big Lagoon, floating through Secret Beach, laughing during a Boodle Fight, to savoring gelato under the stars at Gusto, every moment feels like a gift. With a little preparation, rash guards, aqua shoes, sunscreen, vitamins, and headache remedies, you’ll be ready to fully enjoy every magical second.
El Nido heals your mind, fills your heart, and leaves you with memories you’ll treasure forever. Paradise doesn’t just exist in postcards. It’s real, and it’s waiting for you in Palawan.